LCD Modules>>>Electronic Components & Supplies
Brand Name NoEnName_Null
Origin CN(Origin)
Model Number JRP5008
is_customized Yes
Type TFT
Resolution 480*800
Size 5 inch
Diver IC ST5091+ST5625
Interface Type HDMI
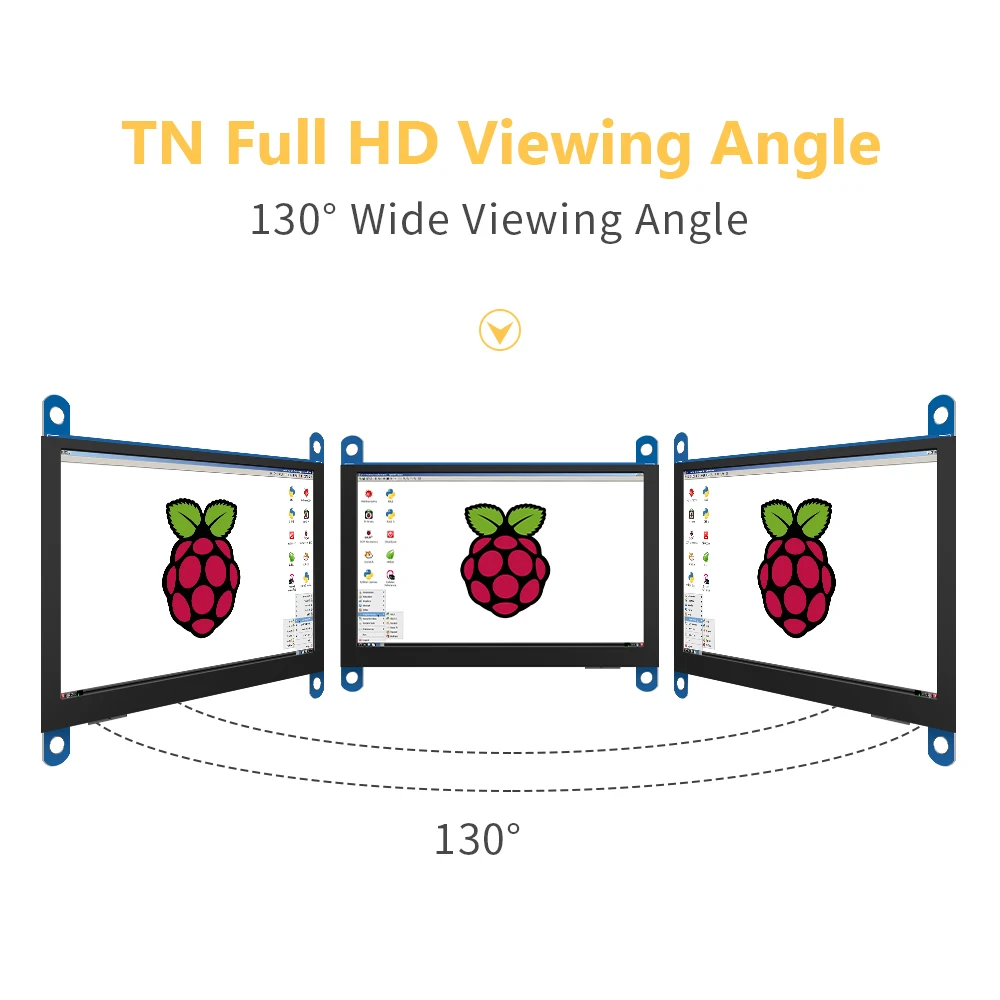
View Angle TN
Touch Panel CTP


Color


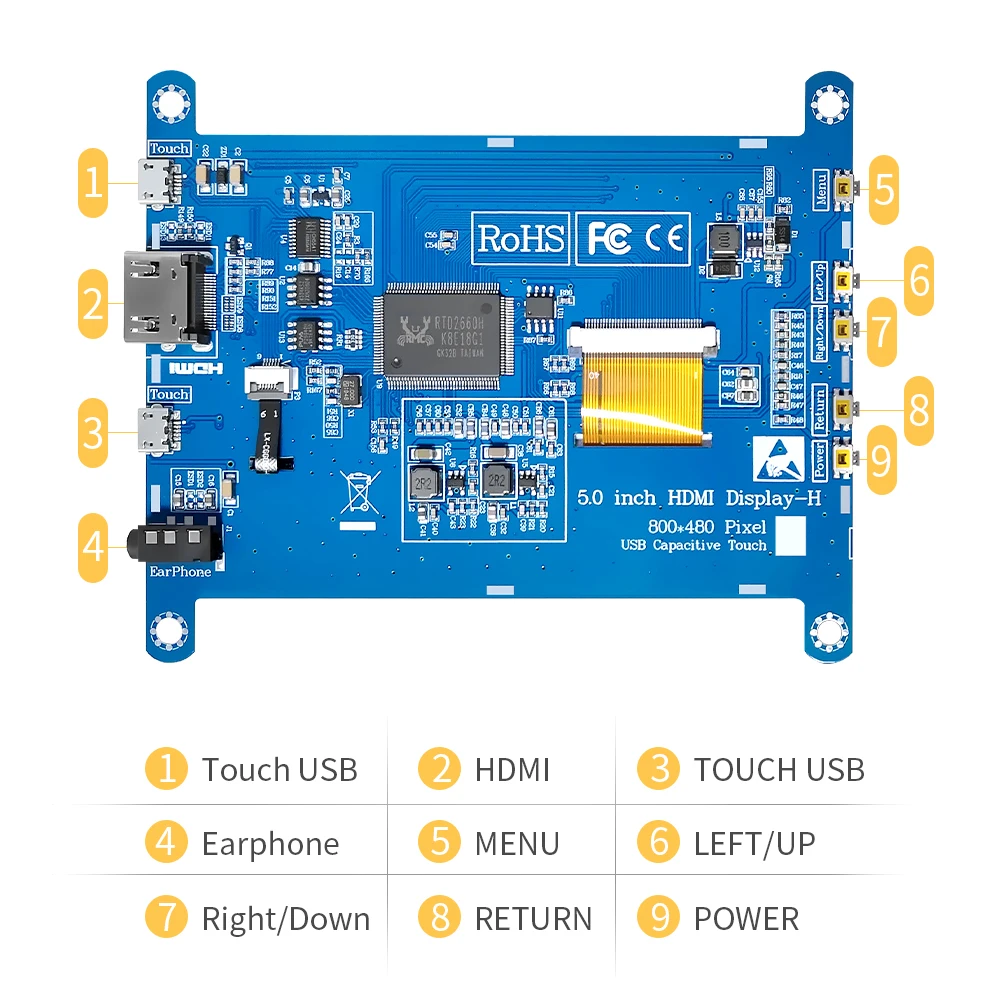
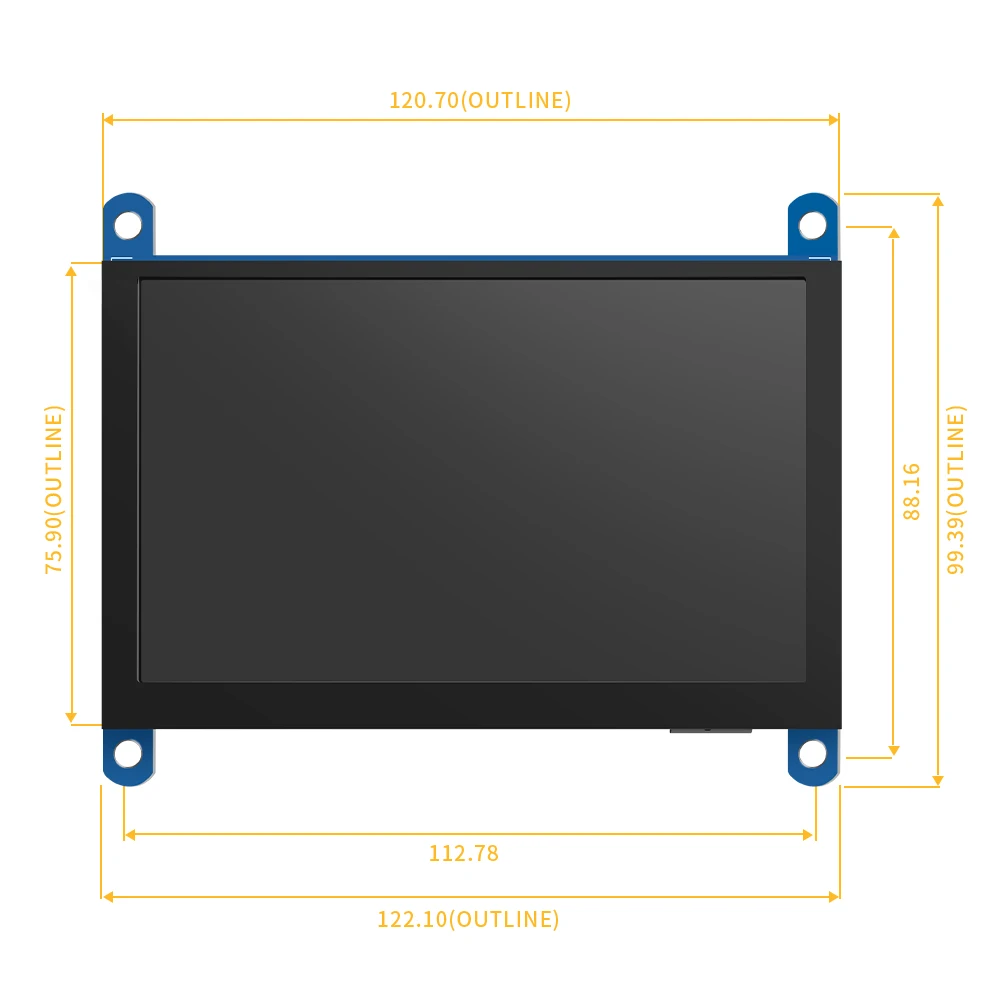
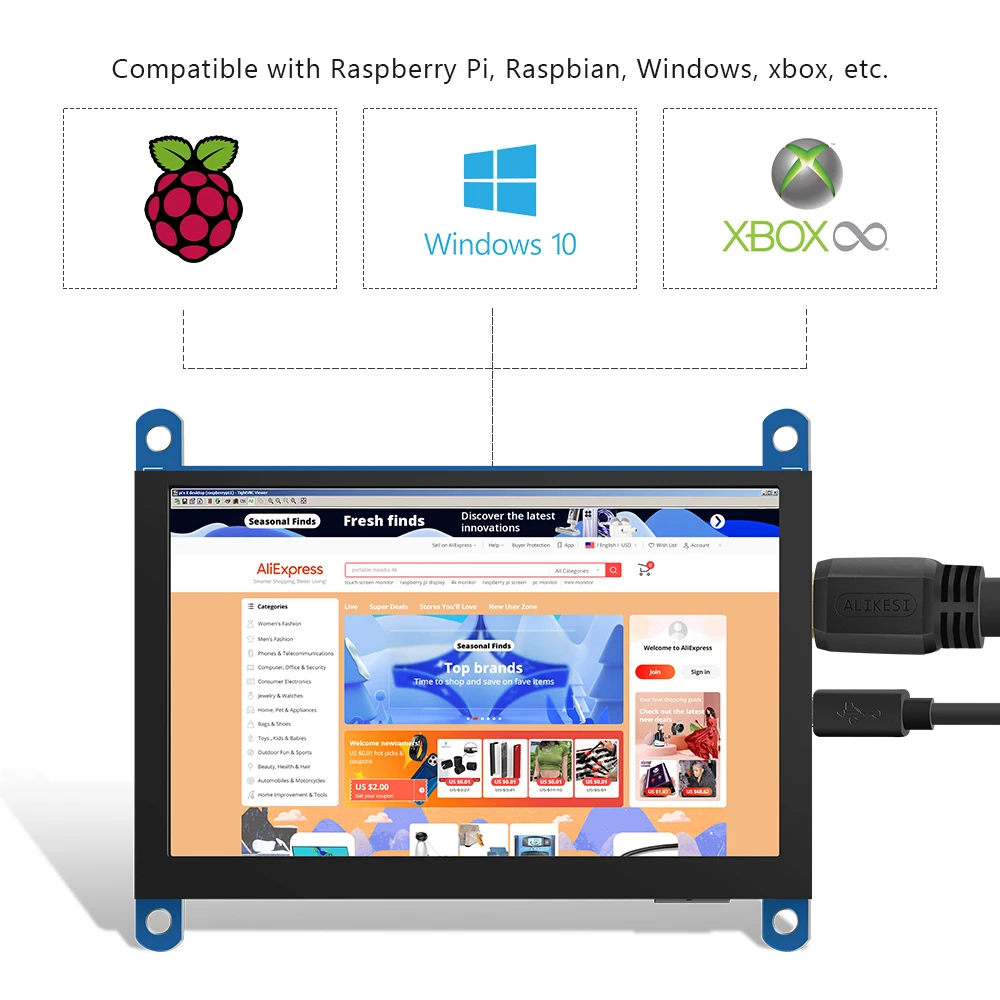
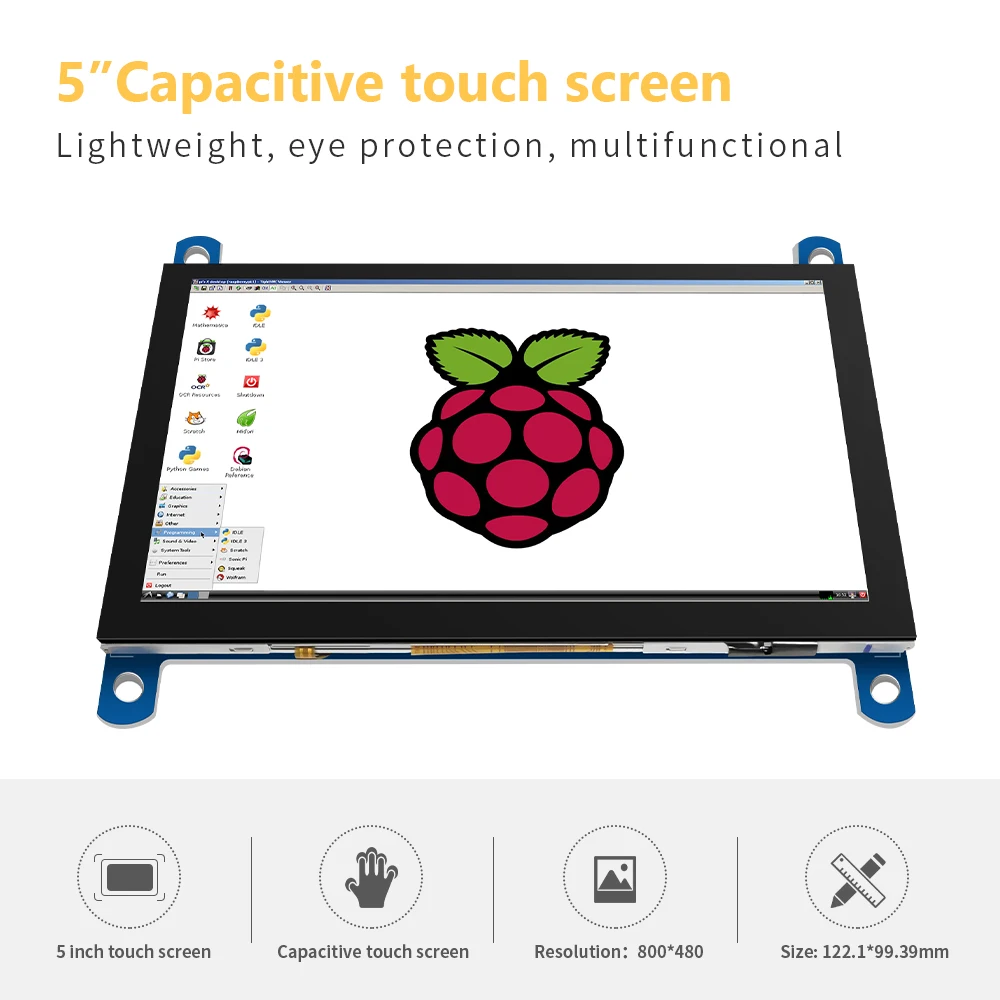
【Product description】1
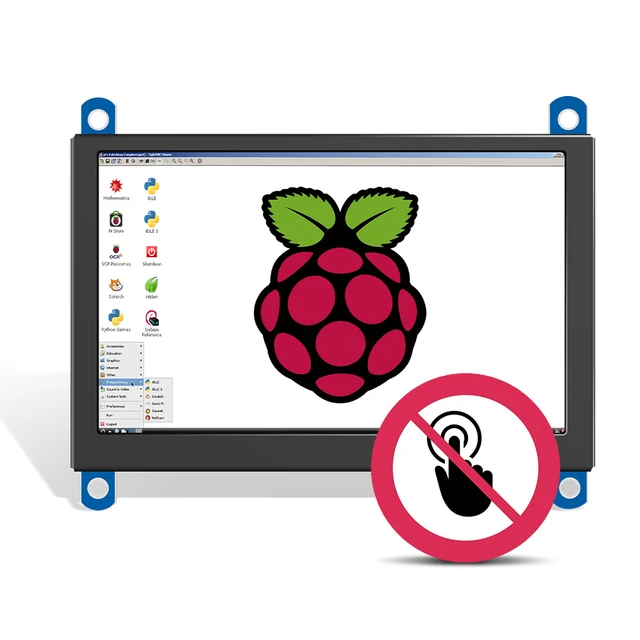
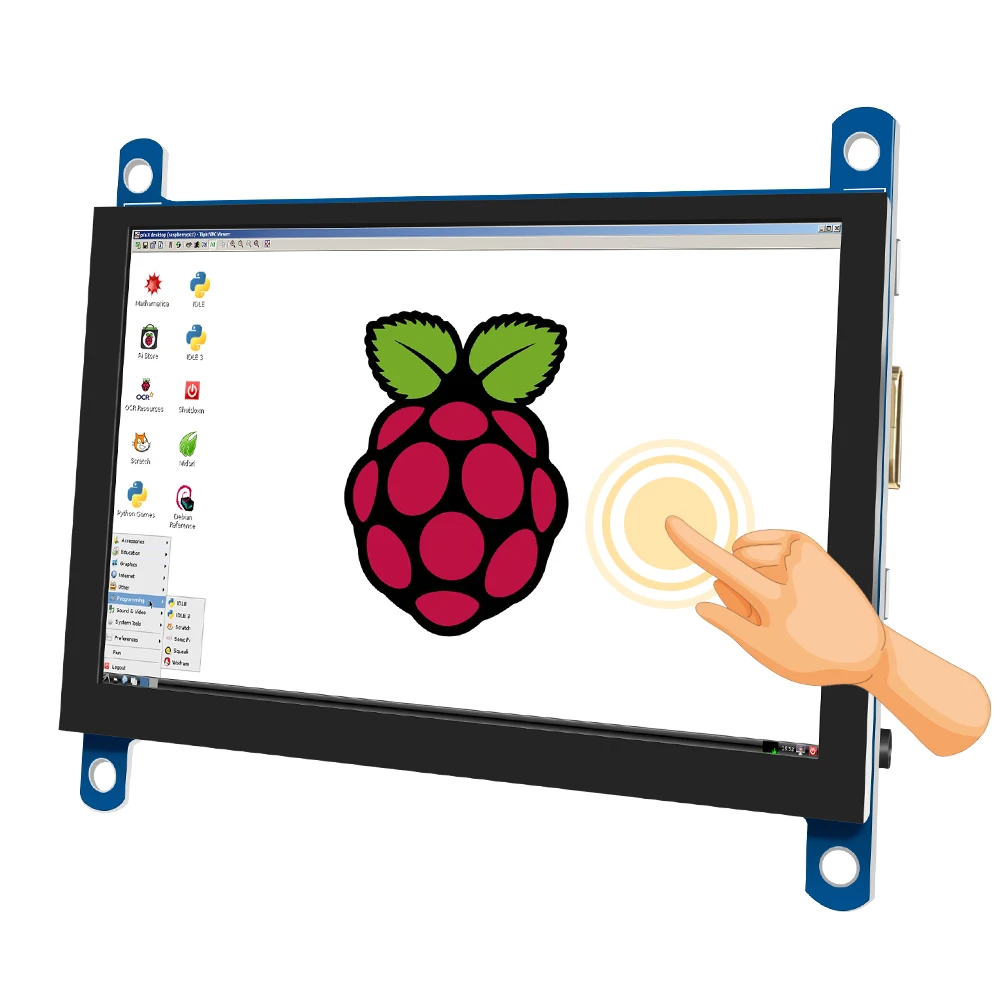
●5inch standard display, 800 × 480 Hardware resolution, Up to 1920x1080 Software configuration resolution.
●Capacitive touch screen, maximum support 5 point touch.
●Support backlight control alone, the backlight can be turned off to save power.
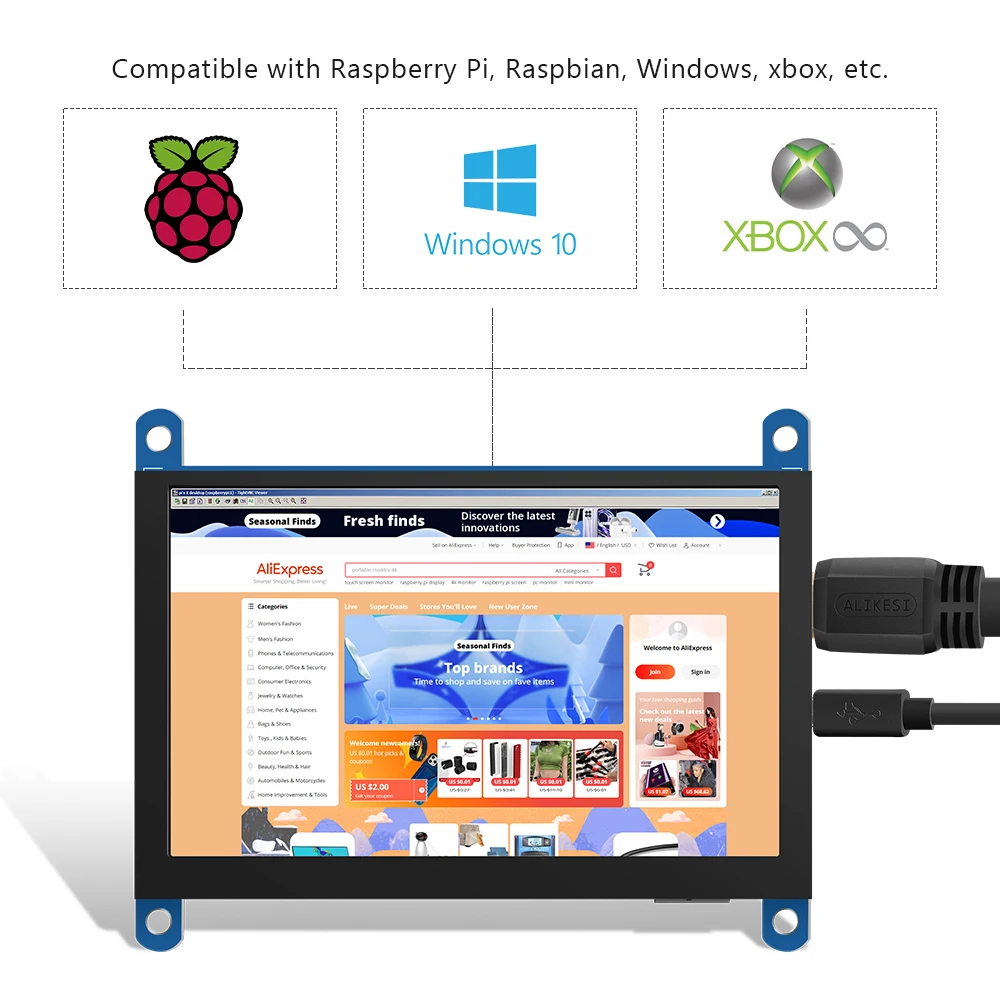
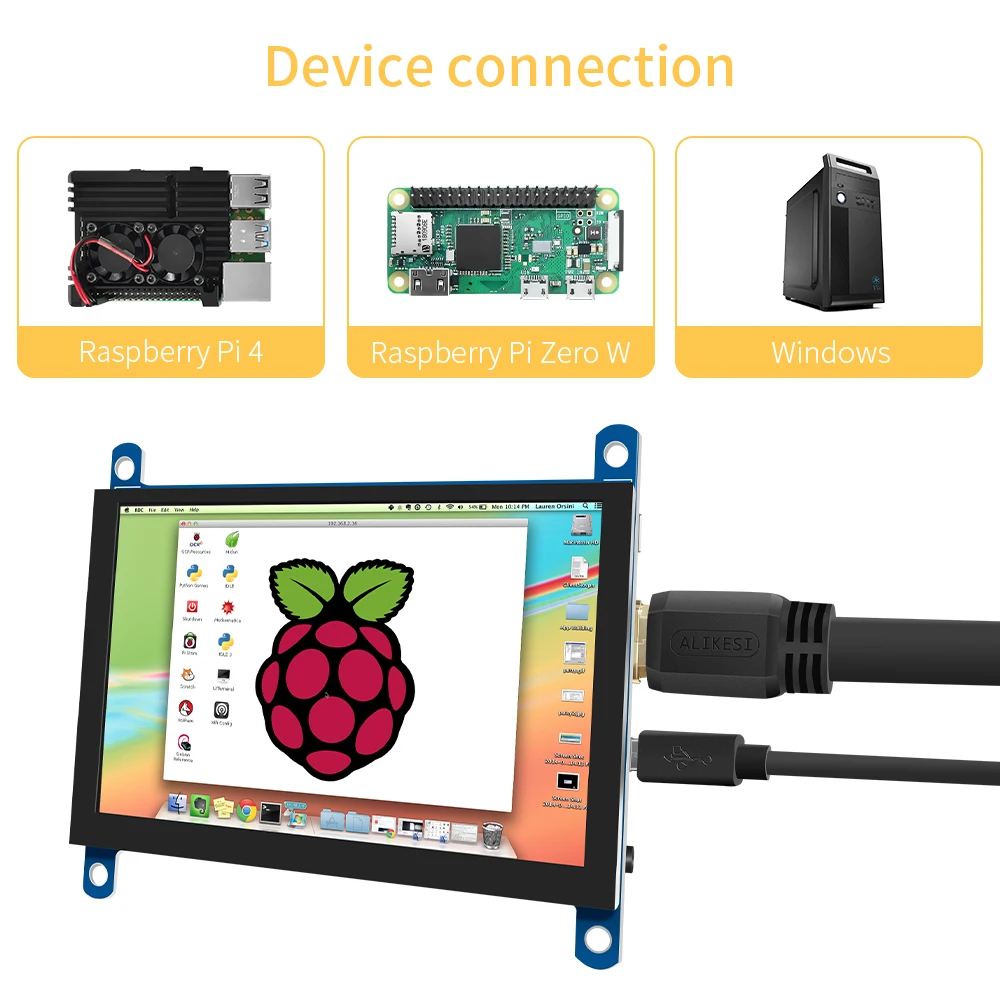
● Support Raspberry Pi, BB Black, Banana Pi and other mainstream mini PC.
●Can be used as general-purpose-use HDMI monitor, for example: connect with a computer HDMI as the sub-display .
●Used as a raspberry pi display that supports Raspbian, Ubuntu, Kali-Linux, Kodi, win10 IOT, single-touch, free drive.
●Work as a PC monitor, support win7, win8, win10 system 5 point touch (XP and older version system: single-point touch), free drive.
●CE, RoHS certification.
Product Parameters】1
●Size: 5.0 (inch)● Resolution: 800 ×480 (dots)●SKU: JRP5008
● Touch: five-point capacitive touch●Dimensions: 122.1*99.39 (mm)●Weight: 150 (g)
【How to use with Raspbian/Ubuntu Mate/Win10 IoT Core System】1
●Step 1, Install Raspbian official image
1) Download the latest image from the official download.
2) Install the system according to the official tutorial steps.
●Step 2, Modify the “config.txt”
After the programming of Step 1 is completed, open the config.txt file of Micro SD Card root directory and add the following code at the end of the file, save and eject Micro SD Card safely:
max_usb_current=1
hdmi_force_hotplug=1
config_hdmi_boost=10
hdmi_group=2
hdmi_mode=87
hdmi_cvt 800 480 60 6 0 0 0
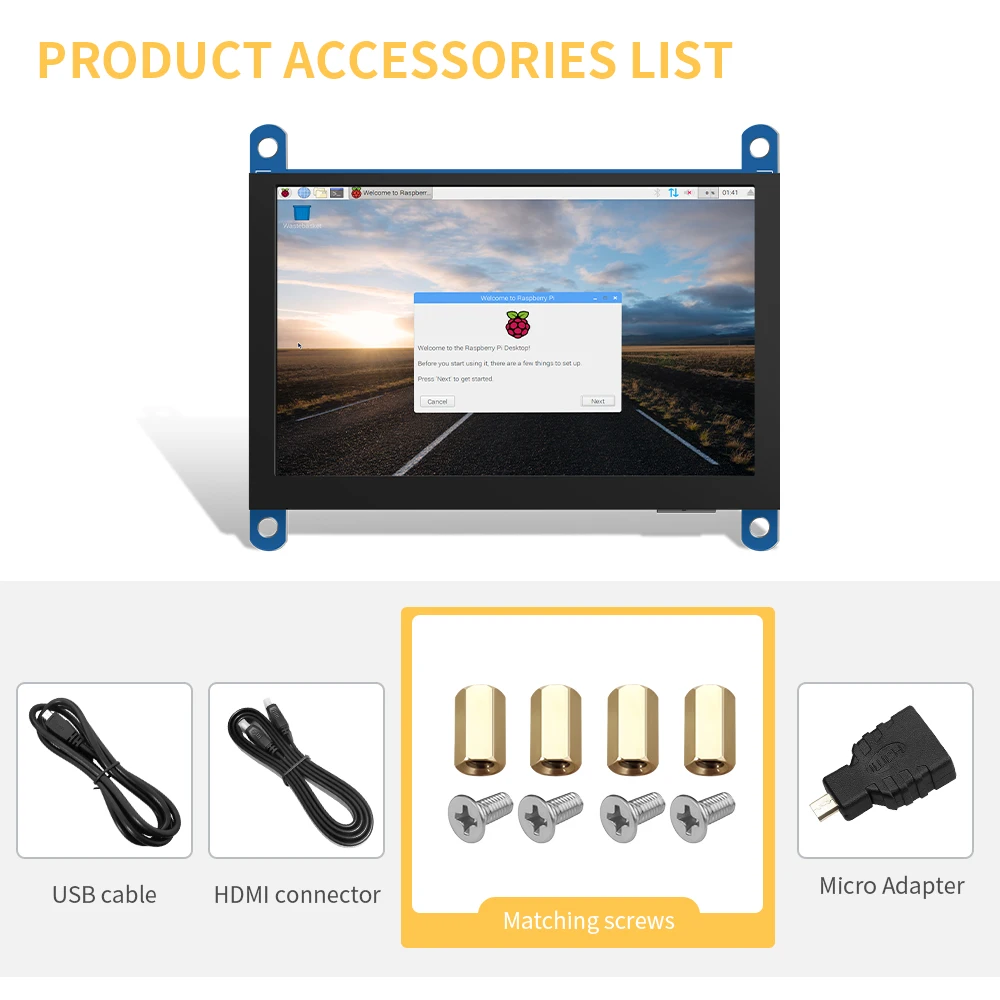
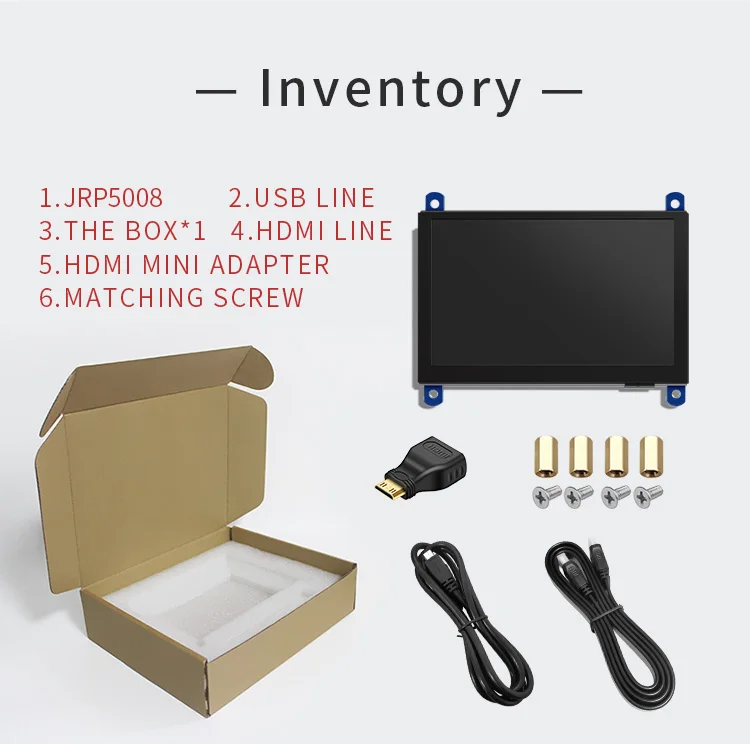
●Step 3, Insert the Micro SD Card to Raspberry Pi, connect the Raspberry Pi and LCD by HDMI cable; connect USB cable to one of the four USB ports of Raspberry Pi, and connect the other end of the USB cable to the USB port of the LCD; then supply power to Raspberry Pi; after that if the display and touch both are OK, it means drive successfully (please use the full 2A for power supply).
★ How to rotate display direction:
1. Open the “config.txt” file (the “config.txt” file is located in /boot):
sudo nano/boot/config.txt
2. Add the statement in the “config.txt” file, press Ctrl+X to exit, press Y to save.
display_rotate=1#0: 0; 1: 90; 2: 180; 3: 270
3. Restart the Raspberry Pi after saving.
sudoreboot
A&Q
1.How to use it?First plug in the USB line,and power up,then you can see HDMI in the display,so you can plug in HDMI line,like this you can enter the system.2.can I use it in computer?Yes,it can be used in the raspberry pi 3、raspberry pi 4,、raspberry pi zero W and mini pc.
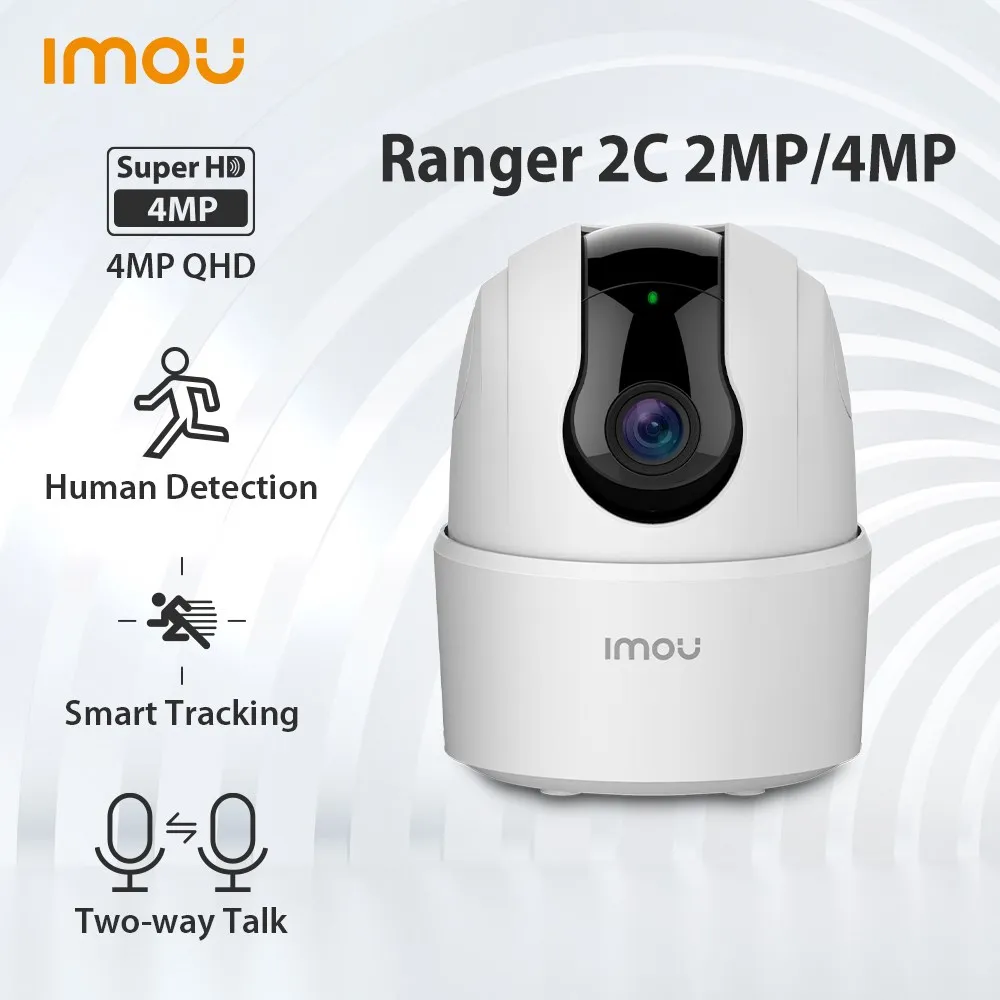


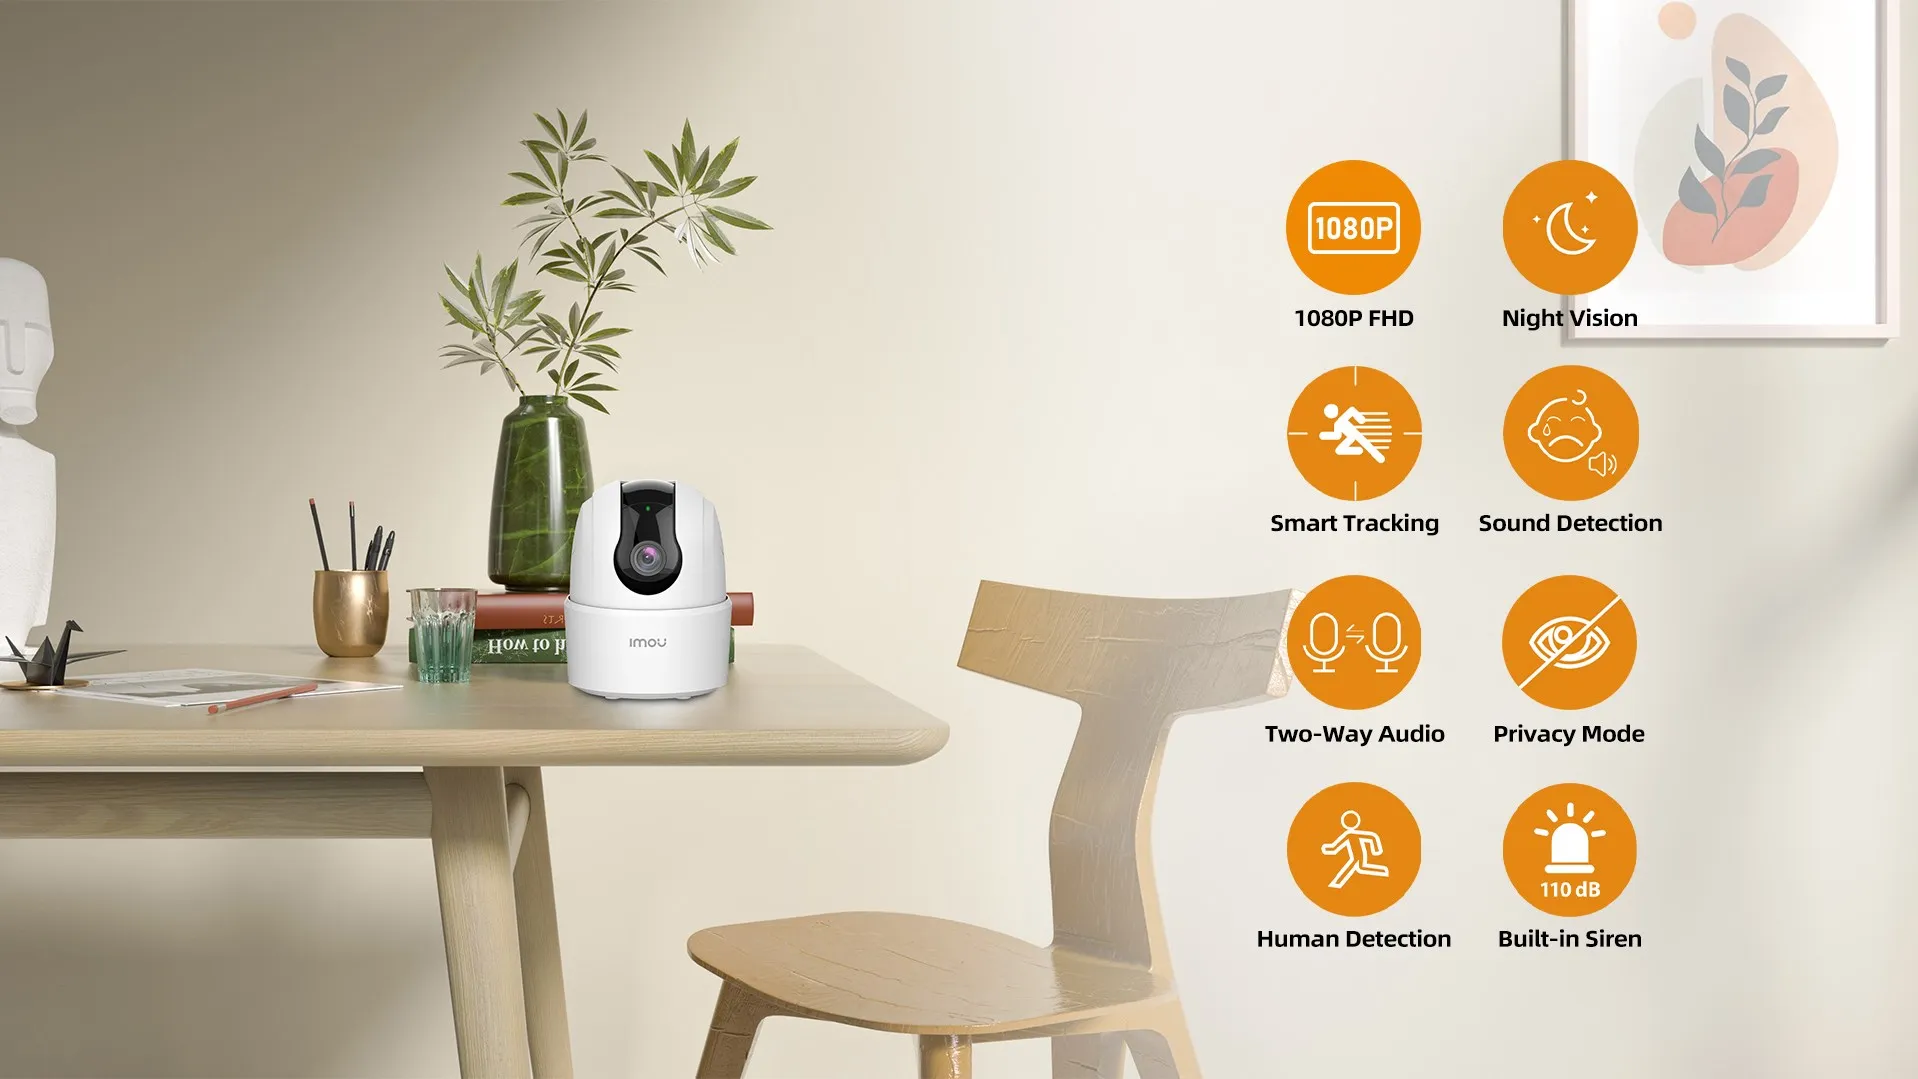 Human detection, effectively reducing false alarms
 Activate the siren from anywhere via your phone, tablet and PC to scare the unwelcomed away.
 With built-in mic and speaker, the security camera allows you to hear and talk back – it’s like being home even when you’re not.
 Place on a flat surface or mount to a wall with the versatile mounting bracket
 Connect the security camera with Alexa for hands-free home monitoring. When your security camera detects motion, your device will tell you immediately so you’ll always know when someone’s there.
